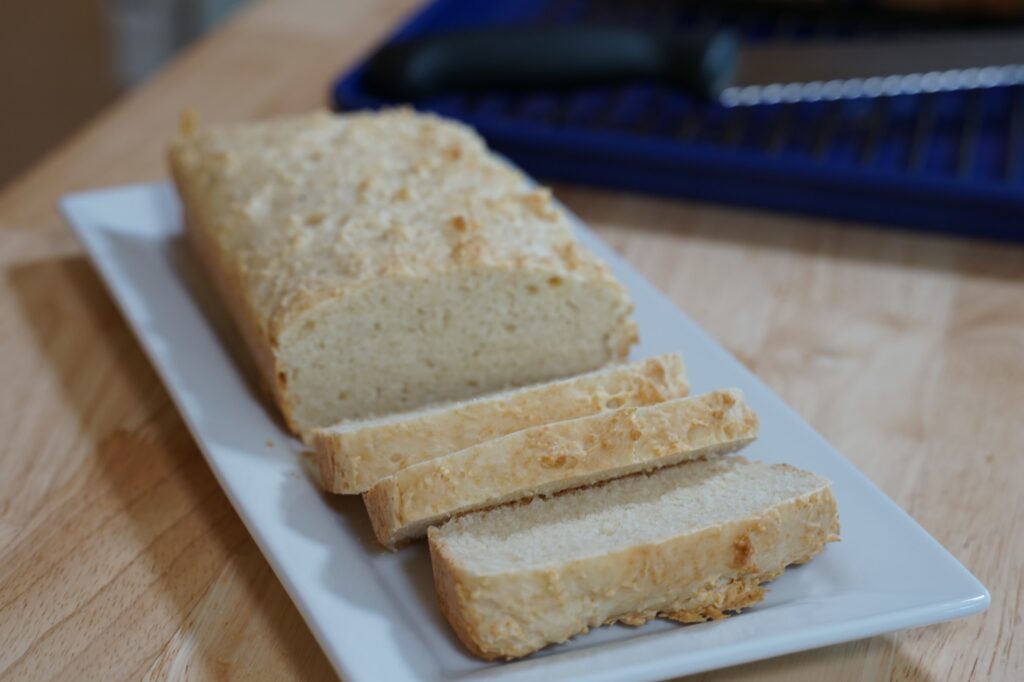
This quick, yeasted bread uses soaked rice pulsed in a high-speed blender to create a batter you pour and bake — no wheat flour or kneading required. Inspired by ChefSteps and Chef George, it’s a great gluten-free alternative and a fun way to experiment with different grains (quinoa, millet, sorghum, etc.). With overnight soaking and a short proof, you can have sliceable, sandwich-ready bread in about an hour (plus soaking time).
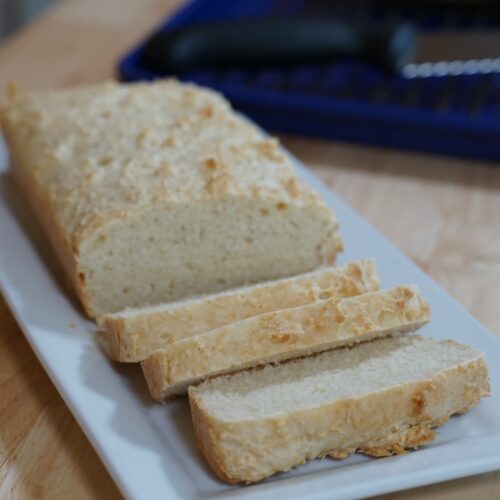
Flour-less Blender Rice Bread
Equipment
- 1 High-speed blender
- 1 Loaf pan, large or two small
- Nonstick spray or oil
- 1 Instant-read thermometer optional
- 1 Oven-safe tray for steam (or small pan to hold water)
- Plastic spray bottle or damp cloth
Ingredients
Ingredients (makes 1 large loaf or 2 small loaves)
- 340 g jasmine or long-grain rice about 1 3/4 cups, soaked overnight and drained
- 240 ml water 1 1/8 cups, plus more as needed
- 30 ml vegetable oil 2 tbsp neutral oil (vegetable, canola, or olive)
- 2 tsp sugar
- 1 1/2 tsp salt
- 2 1/4 tsp yeast, active dry one packet or 7 g
Instructions
Soak and drain the rice:
- Rinse rice, cover with plenty of water, and soak overnight (8–12 hours). Drain well.
Blend:
- Add drained rice to a high-speed blender with 240 ml (1 cup) water, oil, sugar, salt, and yeast. Blend on high in short bursts, monitoring temperature. Aim for a smooth, thick batter and a final temperature between 95–110°F (35–43°C). If too hot, cool briefly; if too thick, add up to 30 ml (2 tbsp) more water.
Prepare your baking pans:
- Spray one large or two small loaf pans with nonstick spray. Divide the batter evenly between pans. Tap pans on the counter several times to settle the batter and remove large air pockets.
Proof:
- Lightly mist the batter surface with water (or cover loosely) and let rest in a warm place 15–25 minutes, until the batter rises just under the rim (time varies with room temperature).
Bake:
- Preheat oven to 365°F (185°C). Place a small oven-safe pan with hot water on the bottom rack or pour a few ice cubes into a hot pan to create steam. Spritz the loaf tops with water once more and bake 30–35 minutes (smaller loaves may finish sooner), until internal temperature reaches 205–210°F (96–99°C) or the tops are golden and firm.
Cool:
- Remove loaves from pans and cool completely on a wire rack before slicing for best texture (you may enjoy a warm slice immediately, but fully cooled slices slice cleaner).
Notes
Nutrition
How Does it Taste?
This bread has a mildly yeasty, slightly tangy aroma with a tender, open crumb that looks convincingly like traditional bread. The texture is softer and gummier than wheat bread (as it lacks gluten), and pleasantly tender rather than chewy. The crust develops a light crispness and the crumb is moist and slightly sticky. I would say that this bread would be excellent for sandwiches or toast especially when you want or need a gluten-free loaf. And feel free to adjust salt, oil, or grain type to vary flavor and mouthfeel!